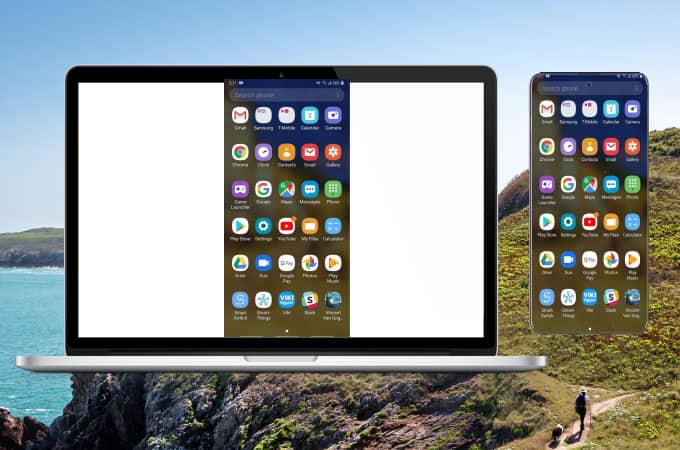
We have been used to dealing with Apps on our Android devices such as Smartphone and Tablets. Have you ever thought of using those Apps on a big screen? To your surprise, you can use Android on computer and can get much out of it! But by now, you might get a question that why should I use it on my Laptop or desktop besides having it on my phones? Probably, there is no proper answer from us to this question but this is just like thinking out of the box! Isn’t it fun to think something unusual? Often, we get refreshed by such thoughts and may even get newer ideas when you try different! So just go ahead with Android on computer not just to have fun but also to get a new experience to find what else is possible with Androids.
Before we proceed with the actual process, we wish to list out what you need to accomplish it.
What do You Need to Run Android on Computers?
-
SD card or USB Flash Drive:
You can use any removable device but it should be at least 2 GB in size. You are going to save the Android OS here and you can later use the Android on the computer by booting from here.
-
Laptop or Desktop:
This is an obvious requirement as you are planning to run the Android here. So no need to elaborate it and you can use a computer of any configuration.
-
Android OS:
Instead of using the Windows OS, we are shifting to Android OS on our computer. So we should have it in before booting the computer with the Android. Here we are going to use the Androidx-86 and you can download the same here.
From the above list, you can select whichever works best for you.
Now let us see how we shall boot our computer with Android, step-by-step. The first task is to create a bootable USB flash drive with the Android OS so that we can insert and run the Android on computers.
-
Backup the Data on USB Flash Drive (or SD Card or any removable device)
Though this not part of our Android on computer process, we should never forget to do it. When we copy the Android OS to the Flash drive, it formats the removable device and hence erases all its contents. Therefore, be sure to save your data before you proceed to the next step. The backup process is enough for the USB Flash drive, and we need not do it for the laptop or the Desktop that you are going to use. The contents on it remain the same, and we never alter it during the boot or Android on computer process.
-
Download the Android OS:
We need the Android OS instead of the Windows on our computer, so just download it from the link we have provided earlier. Just open the link and locate the Android OS that you need. You can notice the ‘View’ link under each Android version. Just click it. As you can see from the list, we have highlighted the 64-bit Android version, and you can also go ahead with the same. If you feel like using some other, just click the appropriate link from the list. The download takes only a few minutes, and it is purely dependant on the speed of your internet connection. So, be sure to use an LTE connection or at least a 3G network.
-
Tool to Install Android on the Removable device:
Now, we are ready with the Android OS, and it’s time to install it on our USB or SD Card. Do not panic; the process is very simple. Yes, we have a tool from Windows to do it on our behalf and the most interesting part is, it is a free tool! It is the Rufus tool and you can download it here. Also, you never need an installation of the tool and just save it on your computer or elsewhere.
-
Launch the tool:
It’s time to launch the Rufus tool and you can see the below message while you do so. This is a common question that Windows asks whenever you launch a new App. You can click ‘Yes’ and can proceed.
-
Select the Device:
Rufus tool by itself has many options to specify the destination device, file system, etc. All of them are drop-down lists and we can easily pick the one perfect for us. The first thing to choose is the device and we have already planned to use a USB flash drive. So choose it correctly as once selected the device gets formatted and we would lose its contents. So, be cautious while you select the device.
-
Select the File System:
This is again a simpler job as we need to pull the right one from the list. Let us select the default File system i.e., FAT32. Just look at it from the below image to know how we did it.
-
Bootable Disk Creation:
When you look at the heading, you might think that it going to be another process! Not so! It is just a simple selection from the drop-down list. You can notice the ‘Format Options’ from the below image and don’t forget to enable the ‘Create a Bootable Disk using’ option. Also, be sure that you have selected the ‘ISO Image’ from the nearby list. Once it is done, click the small CD-shaped icon and choose the Android OS file that we have downloaded earlier.
-
Click ‘Start’:
We are done with all the selections and you can click the ‘Start’ button at the bottom of the dialogue box.
-
ISO Image Mode or DD Image Mode?
There is one thing that you should know. We have supplied an ISO file to the Rufus tool and it can be written either as an ISO Image or as a DD Image. So, the system asks you which one to use before it writes. Let us use the recommended one i.e.’ the ISO Image Mode.
-
Erases contents on the USB:
As we expected, the installation process erases contents on our USB. But before doing so, it just flashes a warning message and it requires your approval. Click the ‘Ok’ button and proceed.
-
Remove the USB:
You can notice a progress bar in green colour and one it is done, you safely remove the USB after closing the Rufus.
Now, we have successfully created a bootable version of the Android on our USB Flash drive. We can use the same to boot our system, to run Android on computer.
How to boot with Android on Computer?
-
Enter the Boot Menu:
Every computer has a specified key to enter the boot menu. Just identify the corresponding key for your system. For example, it may be F12 or F10 or anything. So do find it out and press it once the system is powered on. You can now see the below boot screen and just select the ‘USB Storage Device’ from the ‘Legacy Boot’. This will allow you to boot from the USB where you have the bootable Android OS.
-
Android Installation or Just Live Mode?
If you plan to run only Android on computer, then just go ahead with the Android installation on its hard disk. But most of us just use Android on computer once or twice and in such a case we can go ahead with ‘Run Android-X86 without Installation’
-
Wait for the Android Boot:
You have been doing things patiently and no more wait is required to run Android on computers except waiting for the Android to boot. It just takes a few minutes and you would be displayed with the below screen.
Select the language of your choice and proceed to land on the Home screen of the Android. Now you can run Android on computers without any further processes!
Few Instructions Regarding the Keys Usage:
We have been used to touch screens of our Android devices and it is little different when we use Android on computers. But it is not a big deal as we find mouse and keyboard with our system. There is almost no point to discuss here when you own a laptop with a touch screen! Yes, you can use Android on computers with a touch screen as for how you use your Smartphone. But don’t bother even if you do not own such a computer as we always have other options to use the Android on it. In this case, your mouse can be used to move & select Apps on the screen. You can even use the Arrow keys to move and other keys while you type messages or e-mails. Whenever you wish to go to the Home screen, you can click the ‘Windows’ key. Also when you have a Webcam, you can use your Camera App too!
How to Stop Running Android on Computers?
As we have not installed the Android OS on the computer’s hard disk, we can easily stop and can go back to Windows OS during our next boot. To do so, just power off your computer and remove the USB with the bootable Android OS. Just restart your system and you would reach the Windows OS as you get it normally!
Conclusion- How to Run Android on Computer?
It’s fun to run Android on computers and do check it out at least once! You would enjoy the experience and would even find potential uses out of it! If you wish to improve the performance of your Android.


