Anúncios
While Microsoft has made life easier for users by bringing Windows 11 as an upgrade to its previous operating system, creating a bootable USB stick with the OS can still be useful in some cases. Whether it’s taking the software to another computer, recovering a PC with hard drive problems, or doing a clean install, using physical installation media can make a difference.
As with the more straightforward methods of installing Windows 11, creating a bootable USB drive or DVD with the operating system is quite simple. The procedure can be done with official Microsoft tools and does not require the use of programs that were popular for this type of configuration, such as YUMI Multiboot .
Anúncios
Below, see how to create a bootable pendrive using the official download tool from Microsoft. Also, if you already have a downloaded ISO, learn how to format it using the Windows 10 CMD, eliminating the need for other software.
First of all, download Windows 11
Microsoft’s new operating system is currently available in beta, and as a result, it is necessary to register with Windows Insiders to download the ISO file. Follow the step-by-step steps below to download the Windows 11 image as a beta user.
Anúncios
Enrolling in Windows Insider
- Go to the Windows Insider website and, if you don’t have a registration yet, click on the “Register” button.
- Log in with the same Microsoft account used on your Windows 10 PC and accept the terms of participation.
- On your computer, go to the “Settings” page and click on “Update and Security”.
- Find the “Windows Insider” tab at the bottom of the page and click “Start Now”.
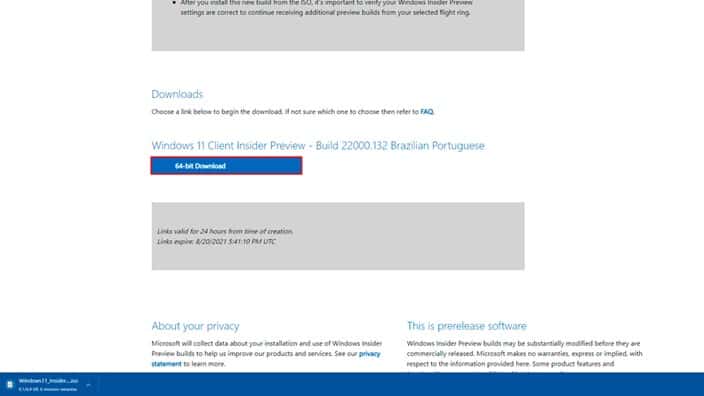 The “64-bit Download” button includes a shareable link to download Windows 11
Downloading the Windows 11 ISO
- To download the Windows 11 ISO, go to this site and log in with the same account linked to Windows Insiders.
- Scroll to the bottom of the page and click “Select Edition”. Select the latest “Beta Channel” version — in this case, Build 22000.132 — and click “Confirm”.
- Select your preferred system language (we use Brazilian Portuguese) and click “Confirm”.
- Then simply click “64-bit Download” to download the Windows 11 ISO file. The button also has a shareable link that is valid for 24 hours, which initiates the automatic download of the system image.
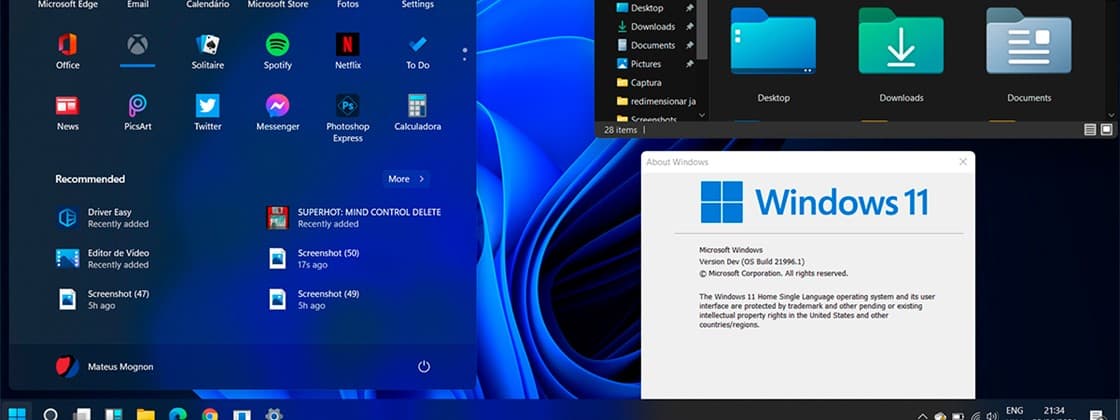
Clean installation without pendrive
For those who will perform a clean installation of Windows 11 on the same computer that the ISO was downloaded, it is not necessary to create a bootable pendrive. If you are on Windows 10 and want to directly launch the installation of the new system, you can do this just with the image file of the new OS.
To do this, follow the steps below:
- Find the downloaded Windows 11 ISO on your computer, click on the file or, using the right button, go to the “Mount” or “Open with” options in Windows Explorer.
- When opening the file browsing, click on the “Setup” executable, which will open the Windows 11 installation menu.
- Follow the step by step shown in the software to perform the installation.
Important : If your computer is not within the Windows 11 beta minimum requirements, an alert will be displayed indicating that the system cannot be installed on the PC. In this case, the installation window will indicate which issue is preventing progress — typically TPM 2.0 is the culprit.
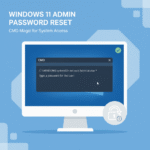
Bootable USB flash drive for ISO with Windows 10 CMD
If you have already downloaded a Windows 11 ISO on your computer and want to create a bootable pendrive using the file, you can format it using the Windows 10 CMD. Thus, it is not necessary to download utilities or have internet access to perform the procedure.
Although the system images appear for download in several places on the internet, the recommendation is to download the ISO directly from the Microsoft website. The Windows 11 image is available for download with the company’s official tool and does not need an activation key to be downloaded or installed.
It is also possible to format a pendrive using only the Windows 10 CMD. With the ISO and a pendrive of at least 8 GB in hand, follow the step-by-step below to create the installation media with Windows 11.
- Connect the pendrive that will be formatted to the computer and back up files from the drive, which will be completely clean.
- Access the Windows Command Prompt by opening the “Start” menu and searching for “cmd” or “command prompt”. Right click on the program and run as administrator.
- At the Command Prompt home page, type “diskpart” (without quotes) and hit “Enter”.
- A new window will open and, in it, type “list disk” for the system to display all the storage units present in the PC.
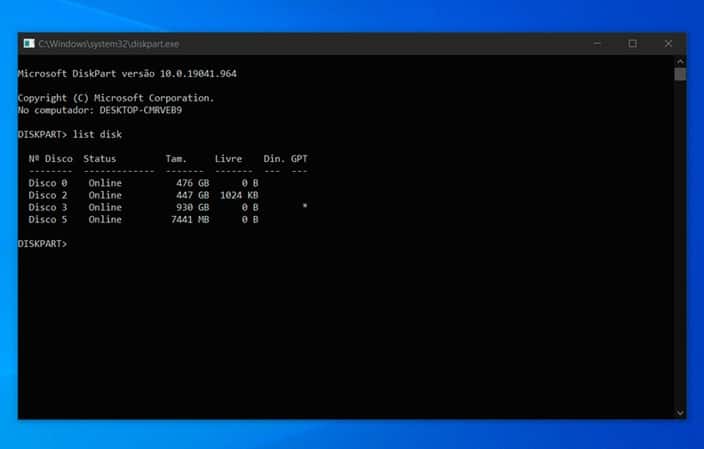
Identify which disk is the pendrive by checking the size. As we are using an 8 GB pendrive, the system displays a total of 7,441 MB of storage. In our case, the pendrive is Disk 5.
- After identifying the pendrive in the list of disks, select the drive to continue formatting by typing “select” and the name of the drive. Following our example, type “select disk 5”.
- Then type “clean” to clean the pendrive. Wait until the phrase “Diskpart is wiping disk” appears at the prompt.
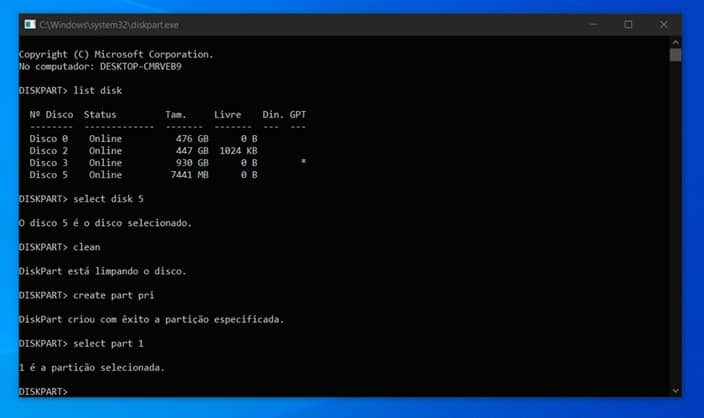
- Then enter the command “create part pri” to have the system create a partition. Then make the selection with the command “select part 1”.
- Enter the command “format fs=fat32 quick” to format the drive in Fat 32, the standard used on most modern computers. If your system is older and does not have UEFI, use the command “format fs=ntfs quick”.
- Upon completion, type “exit” to exit the program.
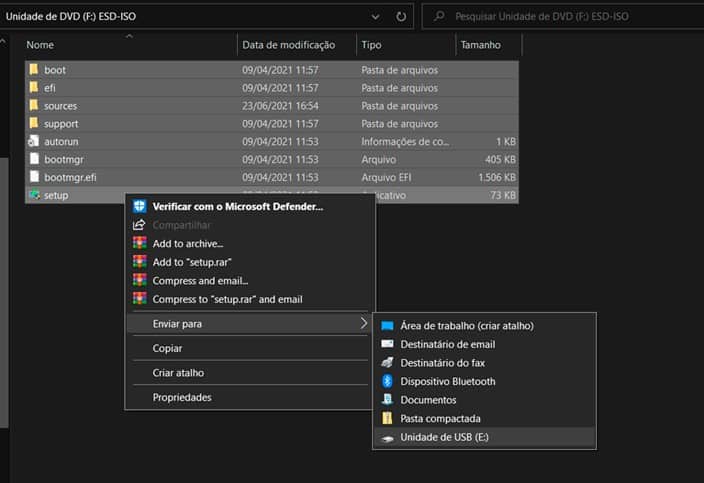 Copy the ISO files to the root folder of the pendrive.
- Now find the Windows 11 ISO on your computer and open the file. To do this, click the right mouse button and select the “Mount” option. Another possibility is to choose the “Open with” option and select Windows Explorer.
- Copy all files present inside the ISO and paste in the root of the pendrive. Ready! The device is ready to be used to install the system on another computer.